“Fascia 1” module

Video lessons

Lessons at the Academy are recorded on video. The full recordings are for students only and are kept in each module's private Telegram group. This page presents recordings that show how the teaching is done: the 3-day “Fascia 1” training, the Academy's first module.

The lesson was taught in German with consecutive interpretation into Azerbaijani. The recordings were made in the classroom on a phone, without editing.

Please note

These videos are for educational purposes. The techniques shown should be applied only by professionals with the appropriate medical and osteopathic training. The videos are not a substitute for medical examination and treatment.

“Fascia 1” — day 1

Duration: 4 hours 36 minutes

Topic: Introduction to fascia: history, anatomy, layers and assessment
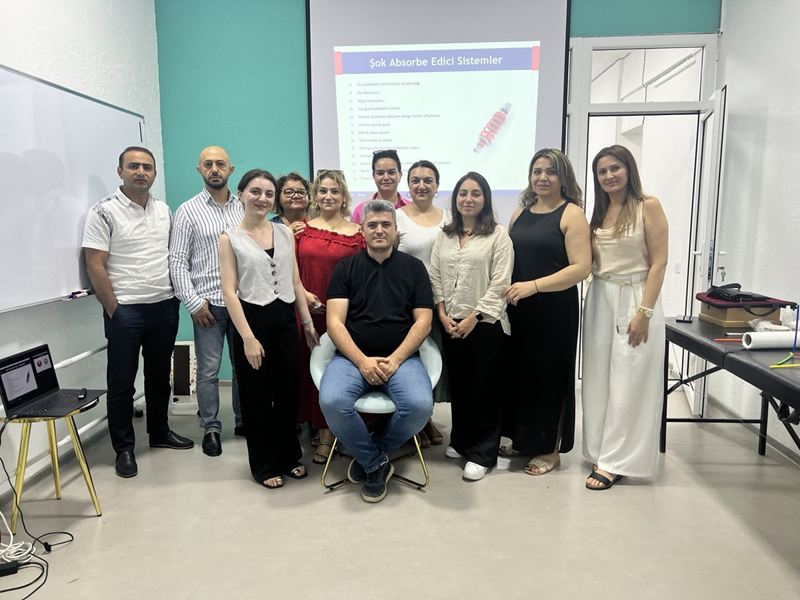
The video is loaded from YouTube only after you press the play button.

What the lesson covers

  • The origins of osteopathy: Andrew Taylor Still's approach and the first school of osteopathy, which he opened in 1892.
  • How the view of fascia has changed: from a tissue cut away and discarded as “packing material” in classical anatomy to a single collagen network that envelops the whole body.
  • The international fascia research congresses and the modern literature on fascia.
  • Embryology: the germ layers, the development of the somites (dermatome, myotome, sclerotome), the neural tube and neural crest, the migration of the organs and the formation of their ligaments.
  • The structure of connective tissue: collagen, elastic and reticular fibres, ground substance, fibroblasts, and the myofibroblasts that acquire the ability to contract under chronic loading (example: “frozen shoulder”).
  • The layers of fascia: superficial fascia, the aponeurotic (for example the fascia lata and the thoracolumbar fascia) and epimysial types of deep fascia, fascial compartments and retinacula; the muscle sheaths (epimysium, perimysium, endomysium).
  • Fascia as a sensory organ: the Golgi, Pacini and Ruffini mechanoreceptors, the role of free nerve endings and the concept of interoception.
  • The tensegrity model: the body not as a column but as a balance of tension and compression elements.
  • Treatment approaches: direct and indirect techniques, holding the tissue at its point of balance.
  • Practical part: observation of the patient, postural assessment, the body's right–left compensation pattern (the Zink model), global tests, and an introduction to the assessment of the face and cranial region.
Open on YouTube (opens in a new window)

“Fascia 1” — day 2

Duration: 4 hours 56 minutes

Topic: Whole-body assessment, the fascia of the lower limb and techniques

The video is loaded from YouTube only after you press the play button.

What the lesson covers

  • Whole-body assessment standing and on the table: tests along the posterior and anterior lines of the body, assessment of the diaphragms.
  • Practice in pairs: trying to distinguish muscle, bone and organ structures by touch.
  • Professional ethics: respecting the patient's trust, a neutral and safe environment, observing intimate boundaries.
  • Techniques: point work (direct and indirect), working along a surface, gliding pressure, hooking techniques, longitudinal and transverse stretching.
  • The fascial anatomy of the thigh: the fascia lata and iliotibial tract, the course of the great saphenous vein, the sartorius muscle, the adductor canal, the femoral triangle, the intermuscular septa.
  • The alignment of collagen fibres along the direction of loading, and the harm of prolonged immobilisation after injury.
  • Fascial techniques on the anterior, lateral and posterior surfaces of the thigh.
  • The knee region: the popliteal fascia, meniscus tests; an example of the SCS technique (holding the position of ease for about 90 seconds).
  • Exercises for the stability of the arches of the foot. Emphasis: “releasing” the fascia alone does not solve every problem; movement and exercise are also needed.
  • The lower leg and foot: fascial compartments, the interosseous membrane, the Achilles tendon, the retinacula and the plantar fascia; practical techniques.

Open on YouTube (opens in a new window)

“Fascia 1” — day 3

Duration: 2 hours 22 minutes

Topic: The gluteal region, the thoracolumbar fascia and the conclusion of the course

The video is loaded from YouTube only after you press the play button.

What the lesson covers

  • Revision of the lower leg and foot; the anatomy of the dorsum of the foot and the plantar aponeurosis.
  • The gluteal region: the gluteus maximus, medius and minimus, the piriformis, the suprapiriform and infrapiriform foramina and the neurovascular bundles that pass through them. How compression along the course of a nerve can be a cause of pain even when the X-ray is normal.
  • The obturator membrane region, and respecting the patient's intimate boundaries when working in this area.
  • The layers of the thoracolumbar fascia and the muscles attached to it: the quadratus lumborum, erector spinae, latissimus dorsi, external oblique, trapezius and gluteus maximus.
  • The Grynfeltt triangle and its clinical anatomy.
  • Assessing the gliding of the layers; gliding pressure, hooking and skin-rolling techniques.
  • Self-care for the therapist, planning a session, and questions and answers.

The last 47 minutes or so of the day 1 video are identical to the first 47 minutes of the day 3 video.

Open on YouTube (opens in a new window)

Advice

How to use the videos

  • The videos are meant to introduce the teaching process. Watching them is no substitute for hands-on practice and a teacher's supervision.
  • Apply the techniques only after you have received the appropriate training and practised under a teacher's supervision.
  • The full module recordings and module handbooks are for the Academy's students only.

Search the site

Type a keyword. Results appear as you type. Press Enter for the full list.

Business card

Osteopatiya Akademiyası

Osteopathie Schule Deutschland programme · Baku

ELF Center, Rəşid Behbudov küçəsi 112, Baku

Menu

Accessibility menu

Large panel
Button and keyboard shortcuts
  • Ctrl+U — opens and closes the accessibility menu
  • / — opens the site search
  • Esc — closes the open window
  • Tab / Shift+Tab — move between elements
  • Enter / Space — activates the selected element
  • ← → — move between tabs and gallery images

When the floating button is hidden, the menu can be opened with the accessibility icon in the top bar and at the bottom of the site, and also with Ctrl+U.

Your settings are stored only in this browser and are also applied on the other pages.

Page structure

Sections

Headings